Index Background

Braided Top Knot Tutorial

by Remington Ready May 27, 2016


Hi everyone! Diana from 204 Park here today and I’m really excited to be partnering with Remington to share with you my go-to hairstyle for those hot summer days. As soon as the temperature rises I immediately gravitate towards top knots to stay cool. Today I’m sharing a braided twist on the top knot that’s sweet, simple and seriously elevates your look. Here’s what you’ll need:


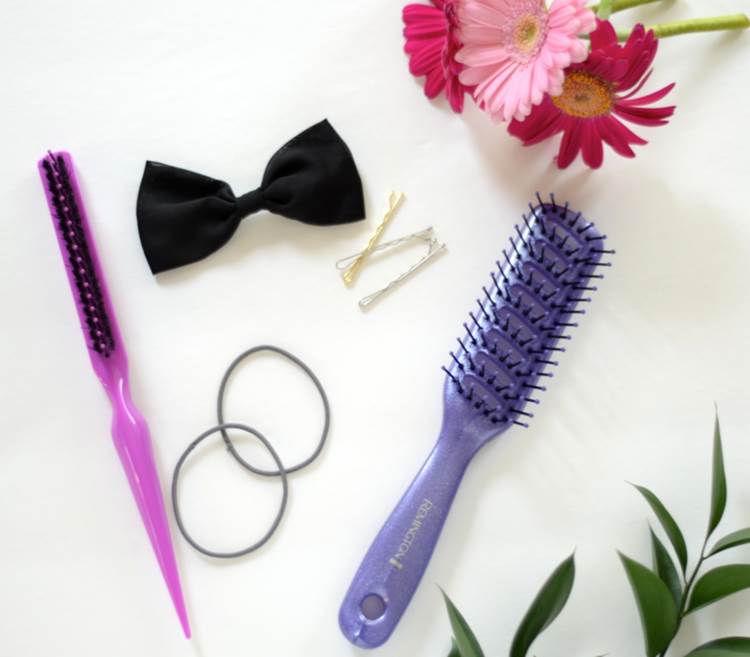
Remington Glitter Vent Brush, Remington Teasing Brush, Remington Bow Clip, Bobby Pins, 2-3 Elastics, Hairspray


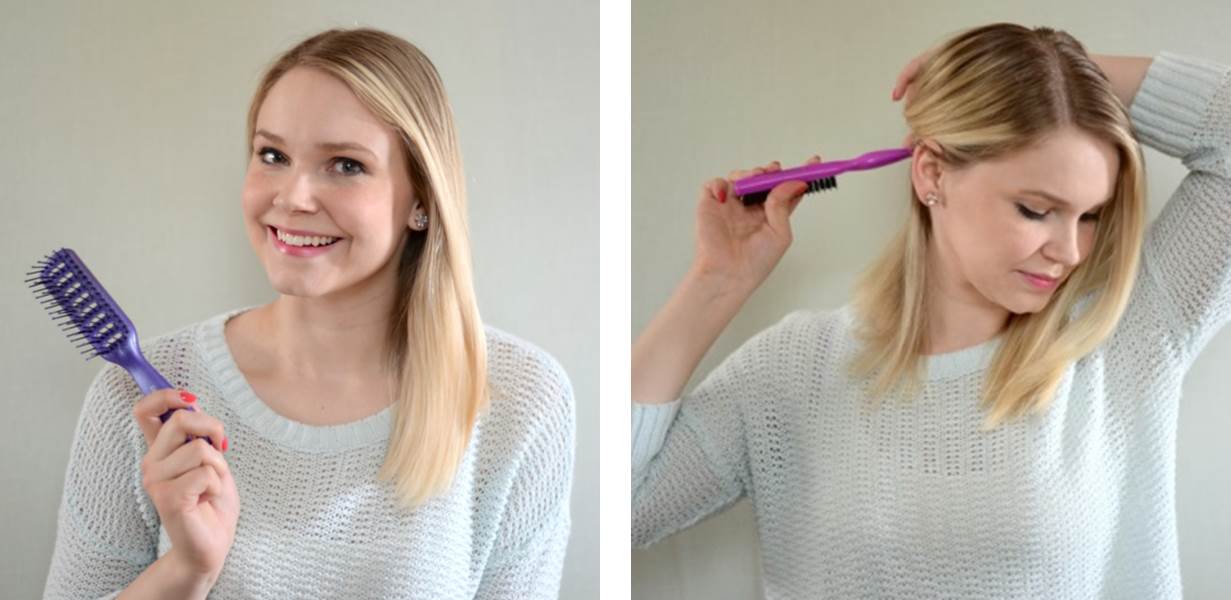
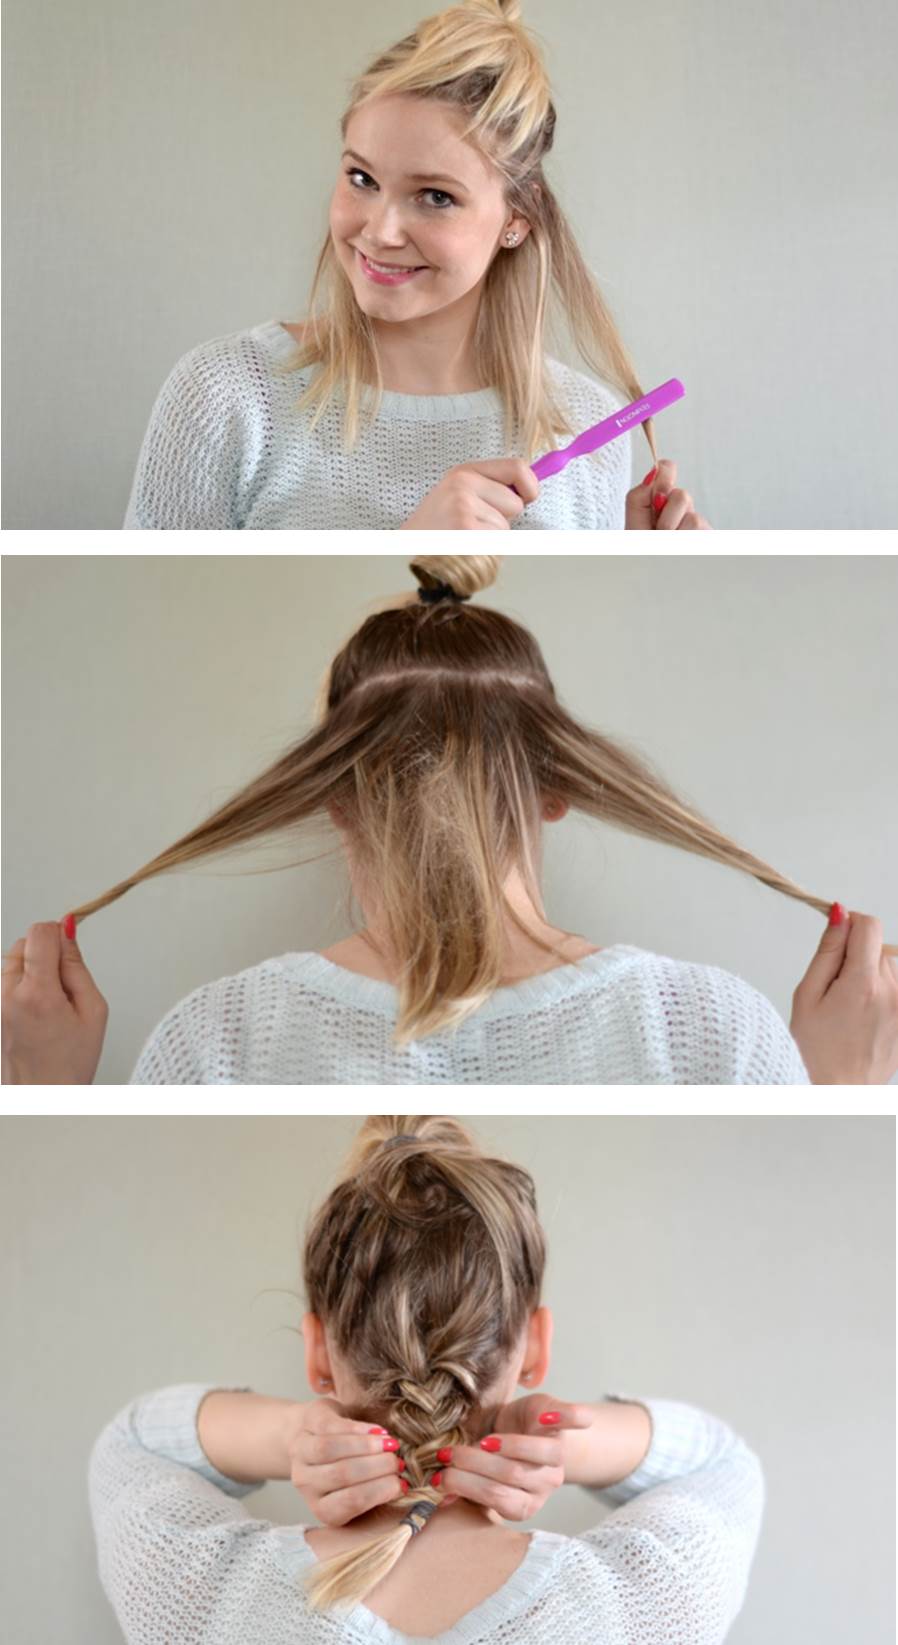
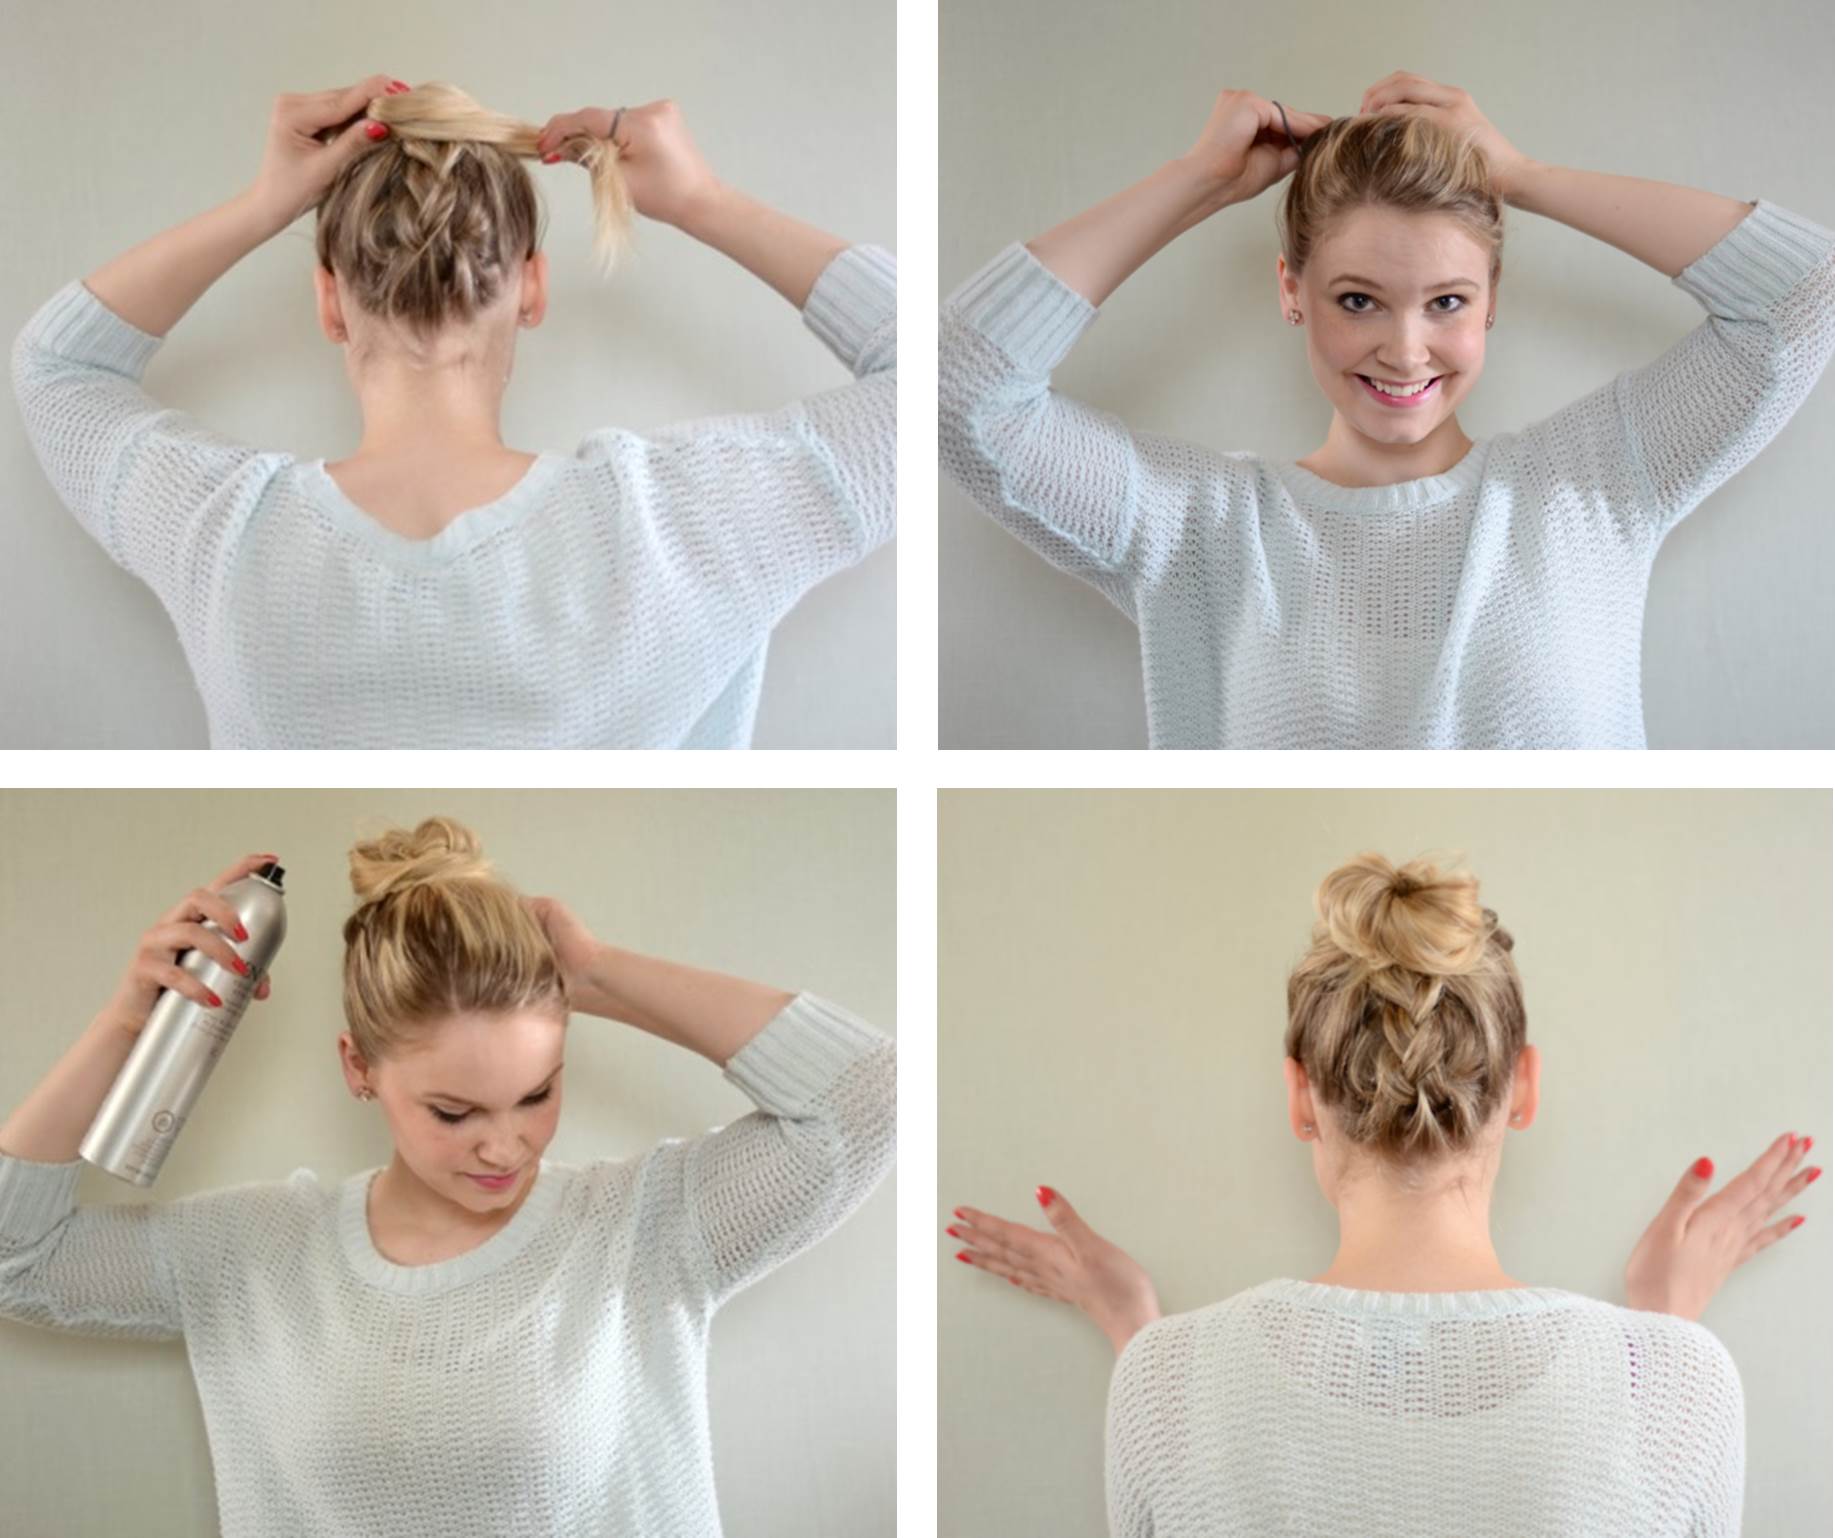
This hairstyle is easiest on second or third day hair. To start, brush your hair with the glitter vent brush to make sure you’re starting with a smooth base. Then, using the end of the teasing brush, separate the bottom ⅓ of your hair straight across and secure the top portion of your hair with an elastic.


To get a bit of volume, use the teasing brush to add some texture to the bottom ⅓ of your hair. Then, separate the bottom section of hair and begin braiding. You might find it easier to flip your head upside down to do this. Once the braid is complete, secure with an elastic. For a fuller braided look, gently pull the braid with your fingers to make the braid a bit looser and wider.


Once your braid is complete, secure the top portion of your hair into a ponytail, tucking the braid into the elastic. You’ll then create a bun with your ponytail using an elastic or bobby pins or both. To keep any flyaways at bay use a spritz of hairspray.


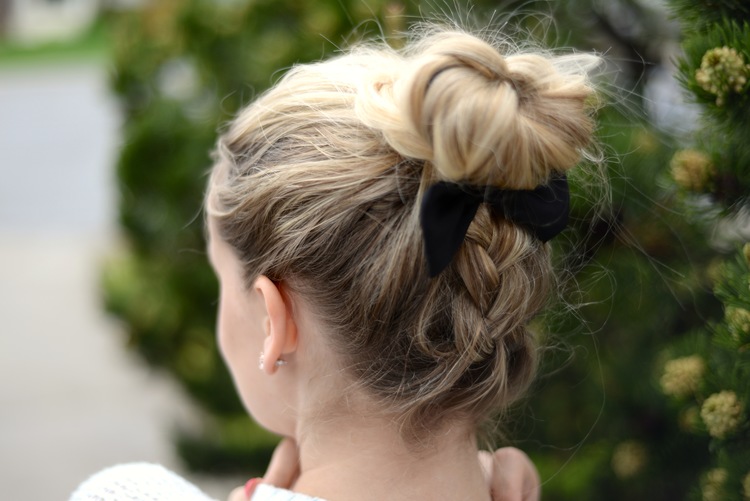
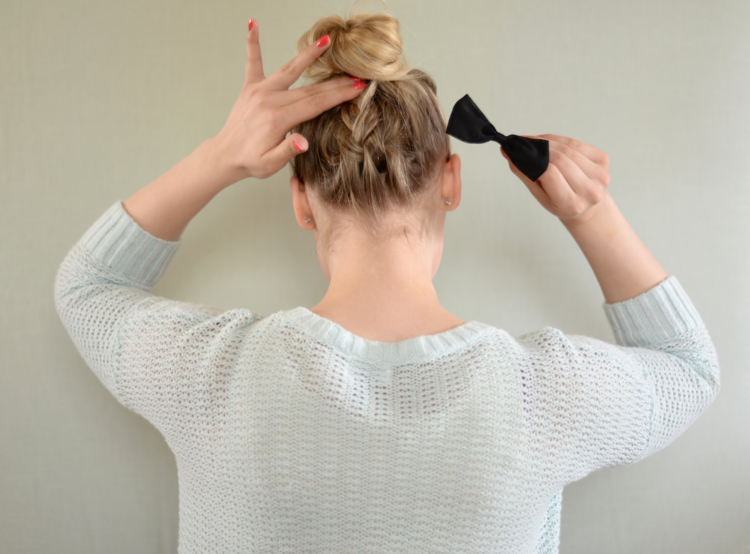
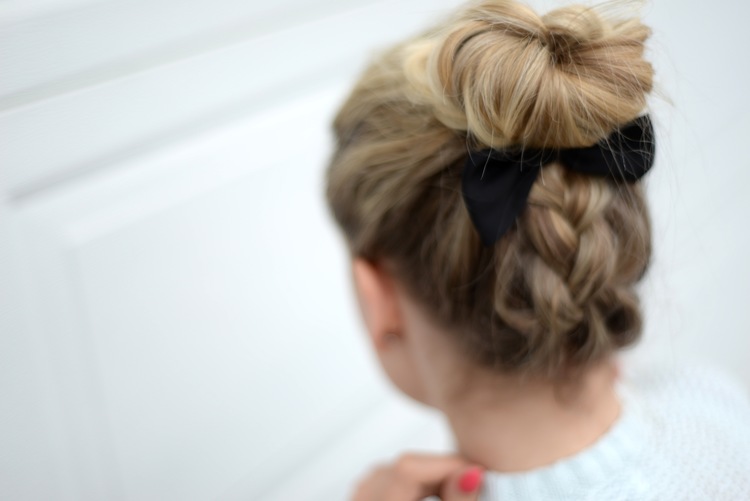
Lastly, finish the look with a sweet bow clip and your braided top knot is complete! With a bit of practice this look is easy to master and is a major upgrade from your basic topknot. Now you’re ready to look cute and stay cool all summer long! Thanks for having me!


Xo, Diana - 204 Park


How To Get The Perfect Top Knot Hairstyle

by Remington Ready October 21, 2014


Top knots are all the rage this season. They look great for any occasion, from dressy events to casual outings, the top knot is a great go-to hairstyle! To get this trendy look, use the simple directions below all while using our Double Knit elastics to make your style last all day!


1. Use a Double Knit elastic to create a high pony on the top/back side of the head.


2. Pull ponytail through the slit of the Perfect Bun tool, leaving the ends of pony out.


3. Roll Perfect Bun up toward the base of your pony.


4. Twist ends of the tool around your ponytail elastic.


5. Spread hair out to create the perfect top knot!


The Topknot

by Keltie Colleen April 23, 2012


Some people would say that the topknot is my "signature" hair style. I promise you it is not because I am trying to be fashion forward or chic (although topknots ARE both!) I wear topknots because I look better with my hair up, and I hate washing my hair.


Topknots are wonderful for a variety of reasons: they make you look taller, they make your cheekbones stand out, they make you look effortless, they make you look trendy, they take 5 minutes to do, even if you suck at doing hair you can make a topknot, you never have to wash your hair, they stay nice in the rain and snow, did I mention wearing your hair up makes you look taller and thinner!


I wanted to share with you how I made my perfect topknots, and all the fun accessories that you can play around with to make your knot unique!


Happy Knotting!


Keltie Colleen is a blogger/author. You can check out her blog on Buzznet and you can "Like" her Facebook page for a free chapter of her book Rockettes, Rockstars and Rockbottom