Index Background

3 Back-to-School Hairstyles

by Rachel August 22, 2016


Hey there, everyone! My name is Rachel and I’m a fashion/lifestyle blogger over at my website, Rachel Lynn. I don’t know about you, but I am so excited for the upcoming school year. There’s always something magical in the air this time of year. Everyone is buying new clothes, school supplies and crafting the perfect back to school haircut, which brings me to the topic of this post. Today I will be discussing my top 3 favorite hairstyles featuring the Remington curling wand, perfect for back to school!

I know when I’m trying to get work done I need my hair out of my face. If I’m constantly touching my hair because it’s in my face, I immediately start wondering if my hair still looks good and then it all goes downhill from there!

Productivity- 0
Hair- 1,237

So without further ado, my top 3 favorite hairstyles featuring a curling wand, perfect for back to school!


CURLS WITH BRAID

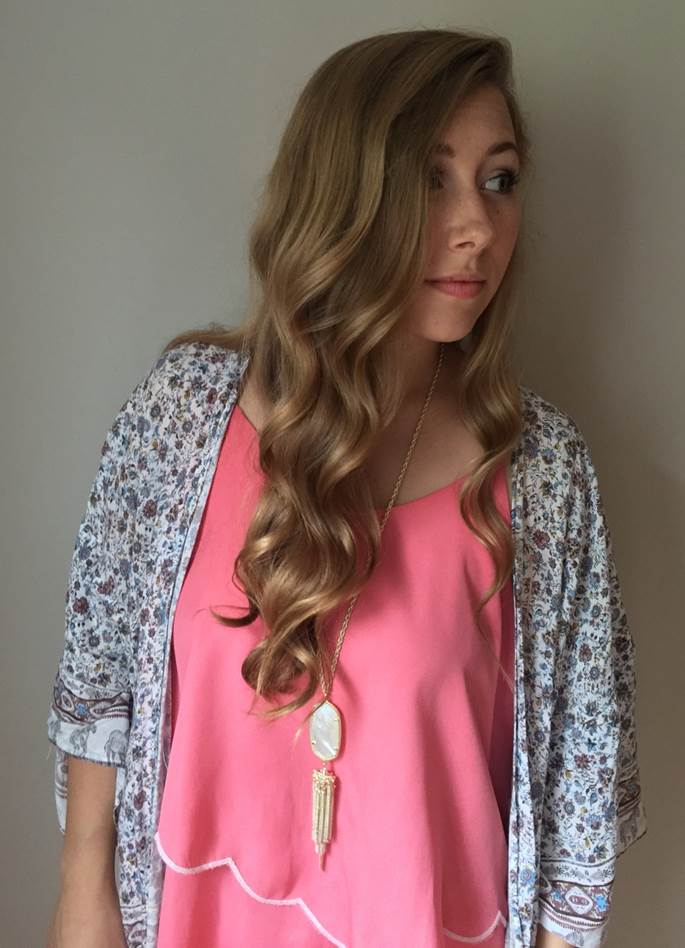
When I was in high school I wore this style braid all of the time and recently it’s made quite a comeback.

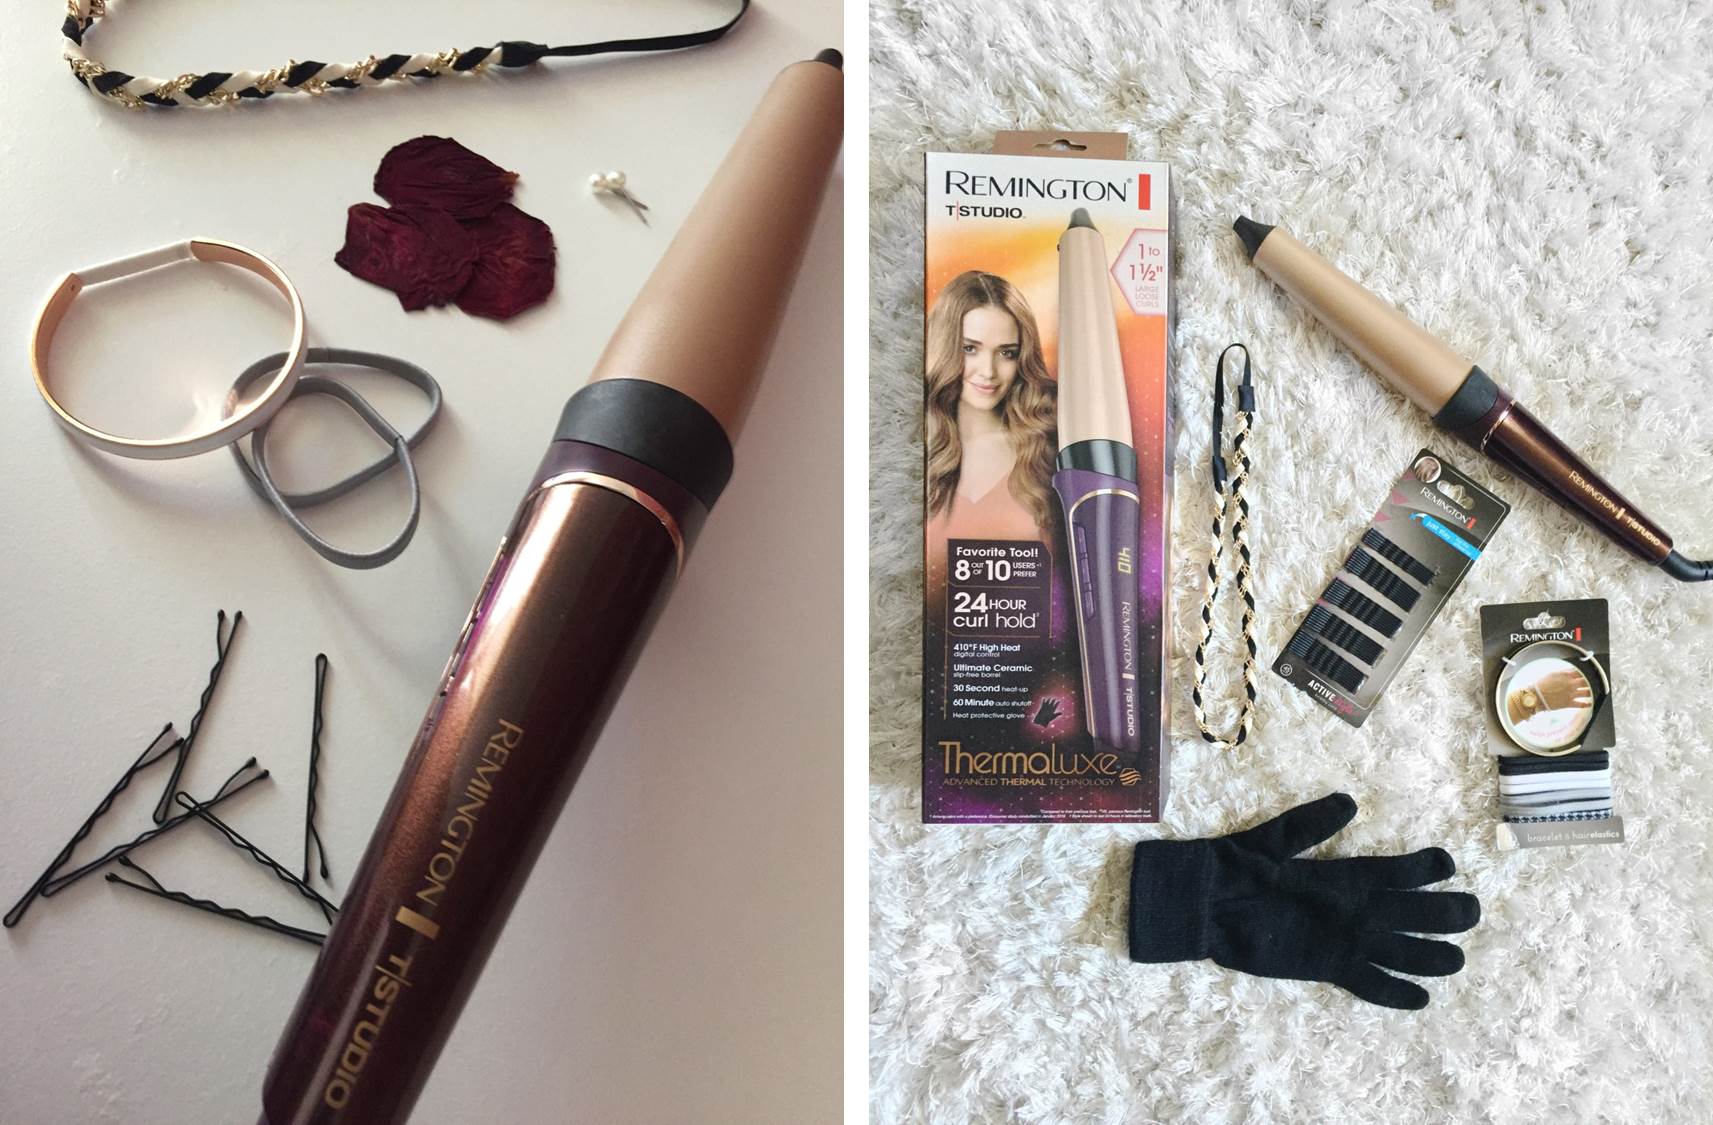
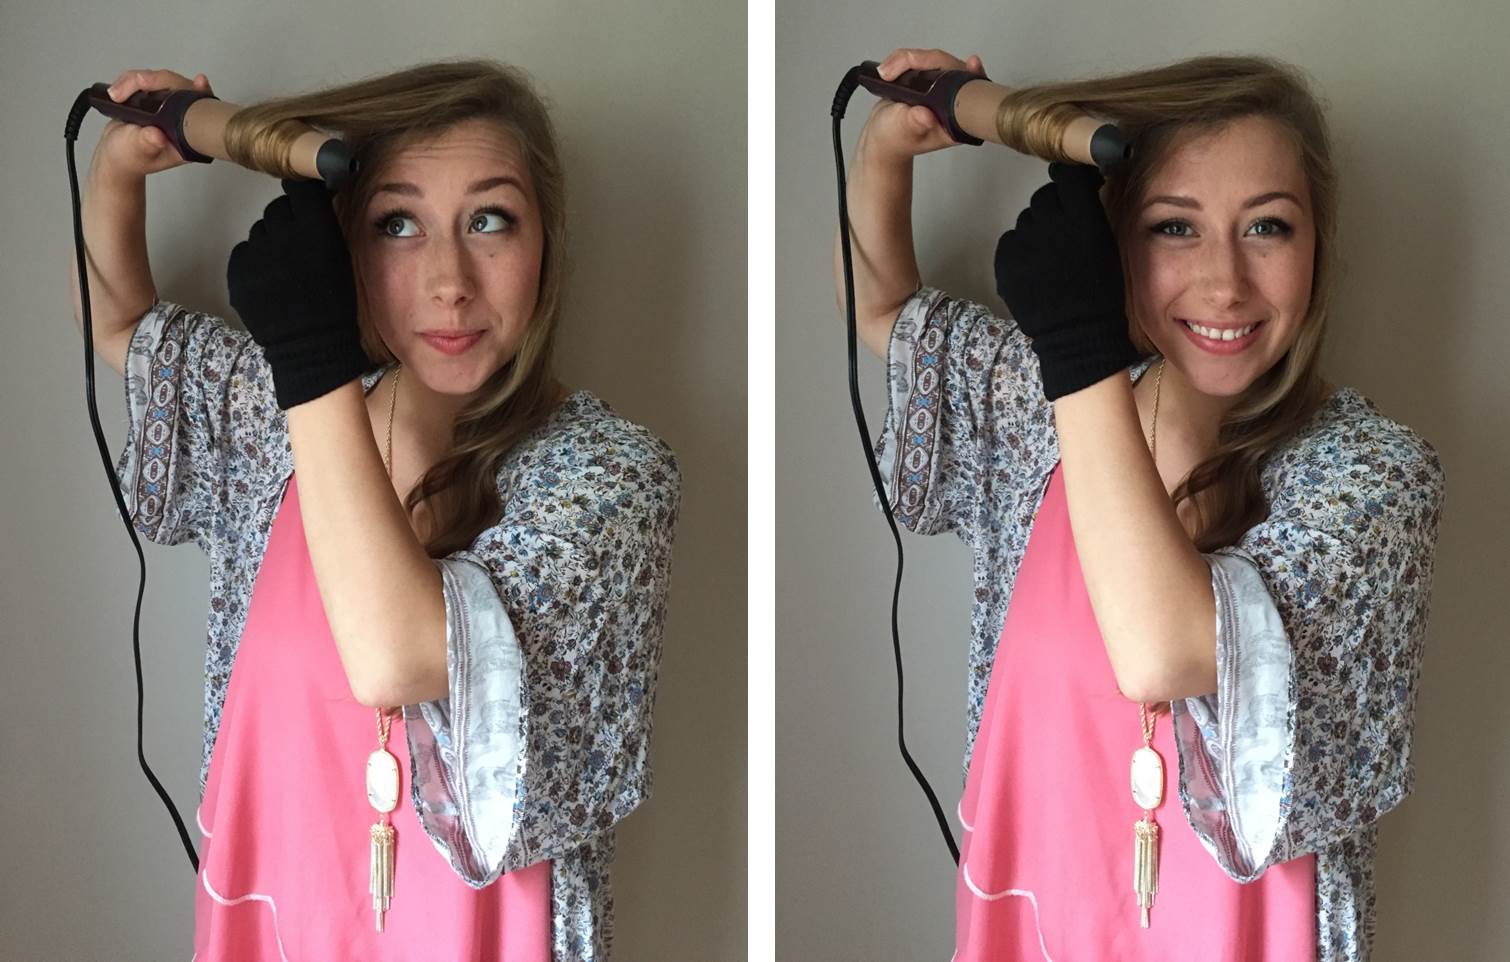
I start by curling my hair using the Remington T|Studio Thermaluxe Curling Wand. This wand is amazing because it heats up in only 30 seconds and curls hair even faster. Talk about fast results! I always curl my hair away from my face. This gives the look a more wind blow, beachy effect—very flattering!


After that, I grab a section of hair from the front of my head and separate that into three equal parts. For this style, a Dutch braid is best. Take the two end pieces and braid them under the center piece. This gives the braid a more 3D effect.
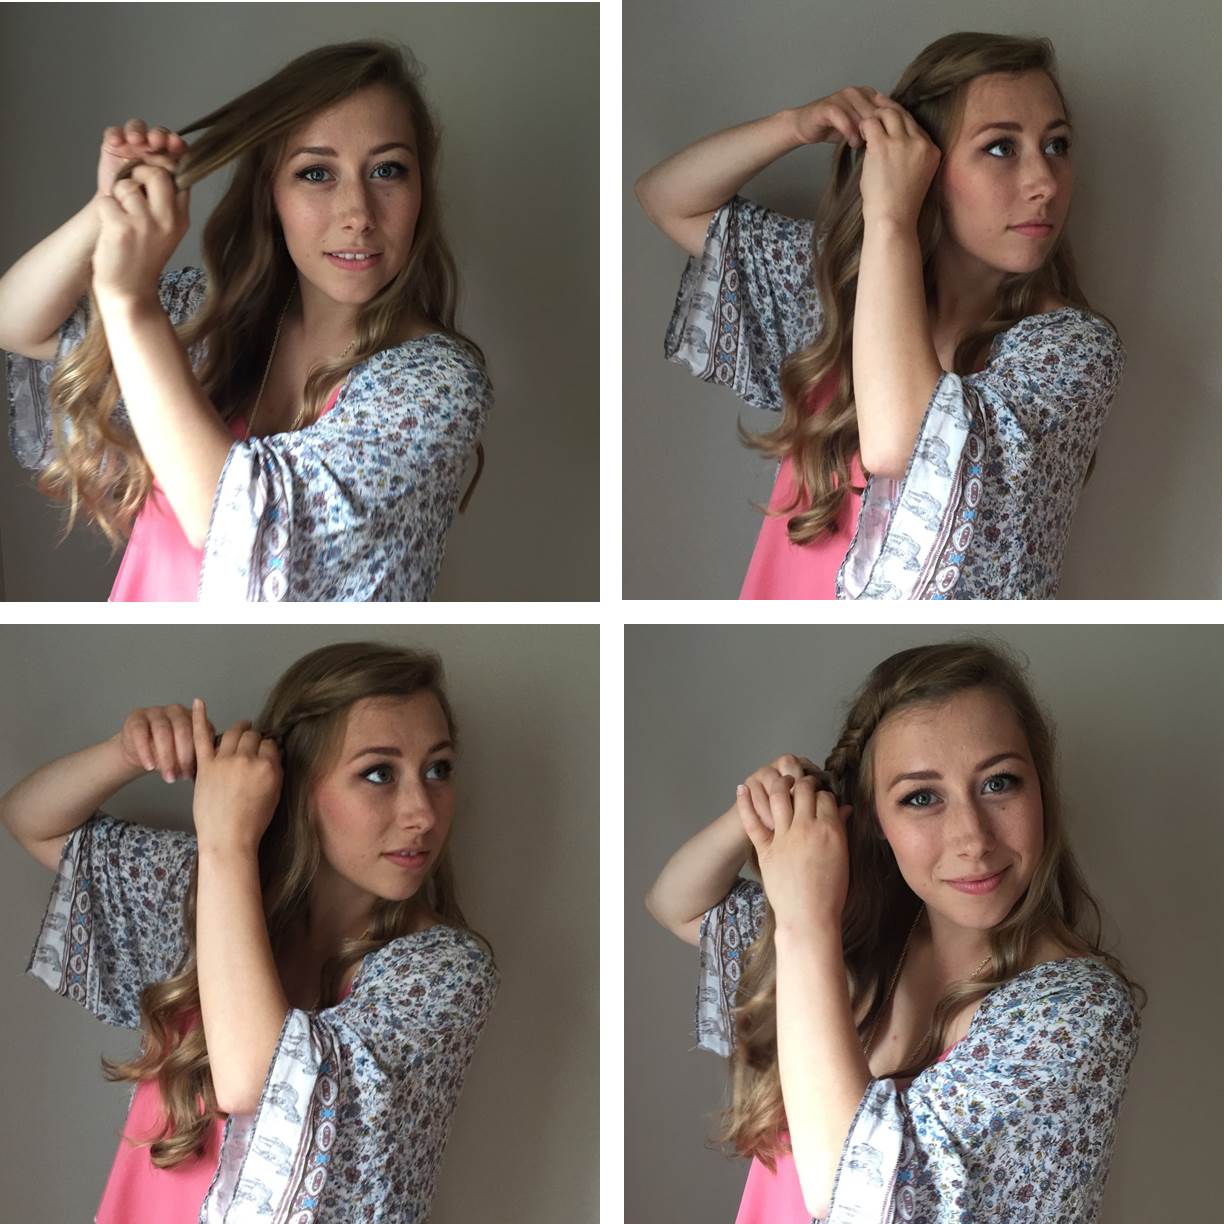


Stop braiding once you reach your ear and secure the braid behind it. Now, all you need is a spritz of hairspray and you’re ready to go!
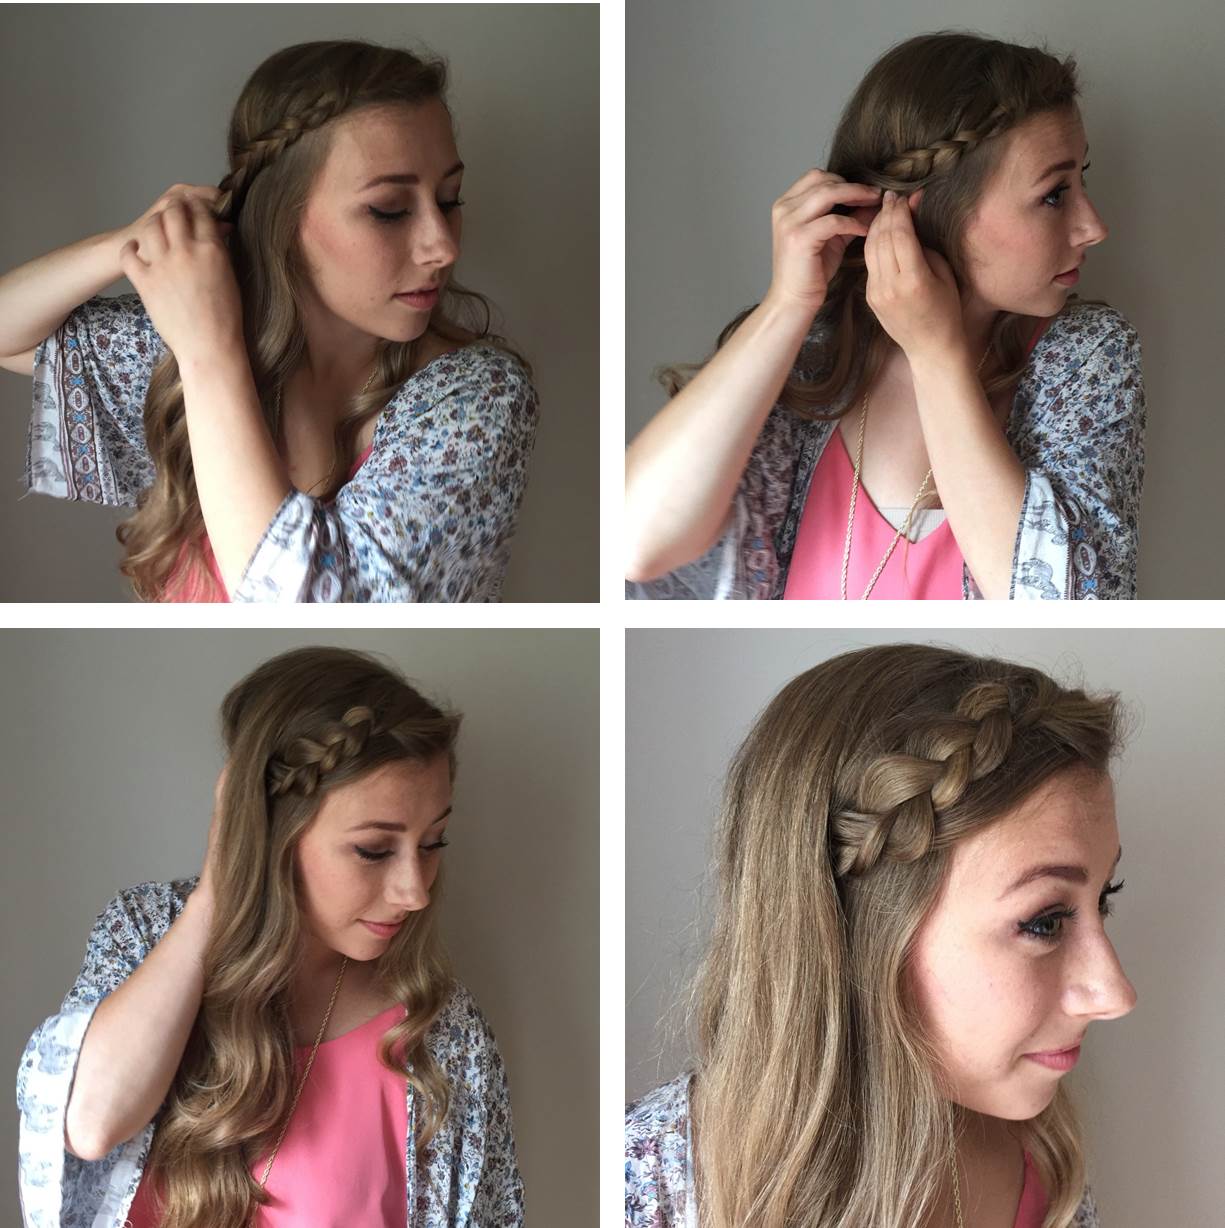


HALF-UP BUN

This is another quick and easy hairstyle, ideal for those lazy mornings you don’t want to put too much effort in, but still want to look cute!
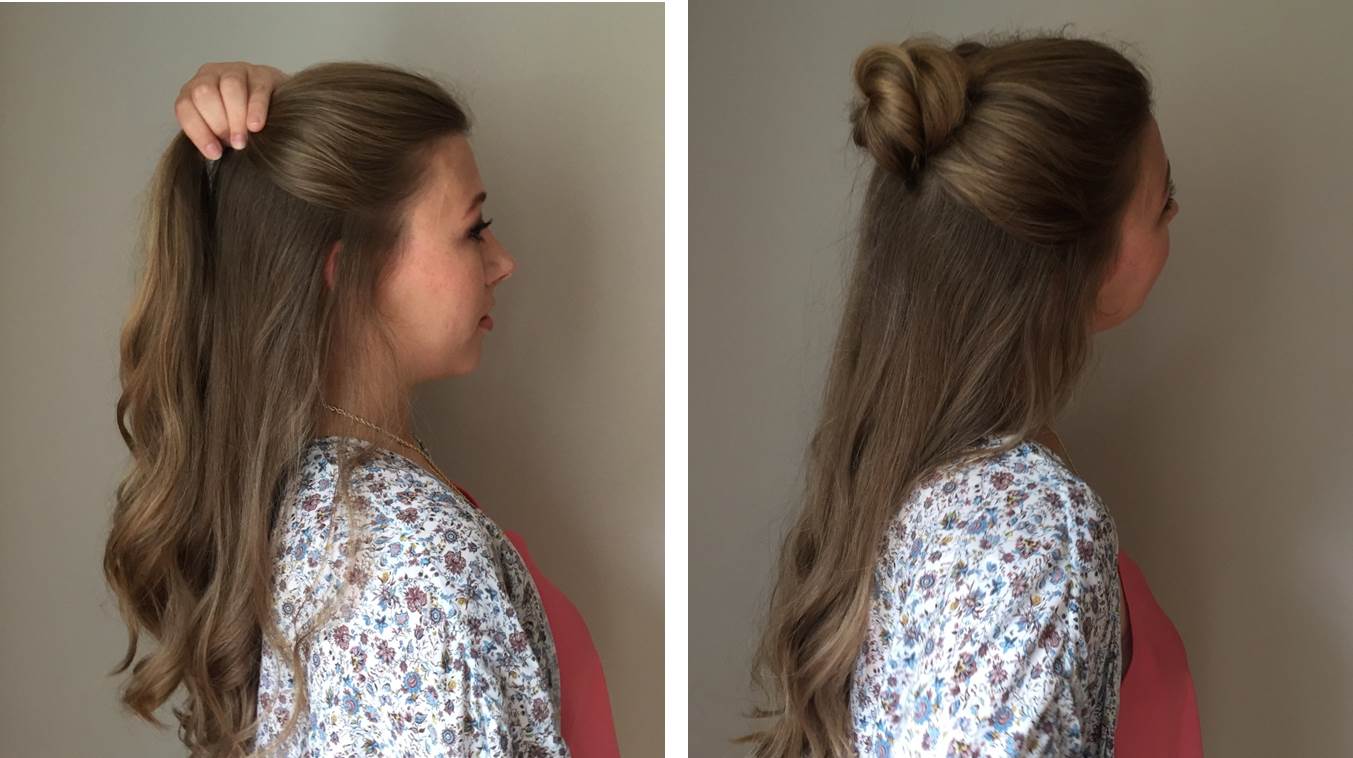


I always start off this style by putting my hair up. Section off the top half of your hair and put it in a tight, messy bun. This is a lifesaver on mornings when you want to look cute and save time doing it. You only need to curl the bottom half of your hair. Believe me, if you’re anything like me and most mornings are a blur of foundation and toothpaste, the quicker the hair style, the better!


DAY 2 PONYTAIL

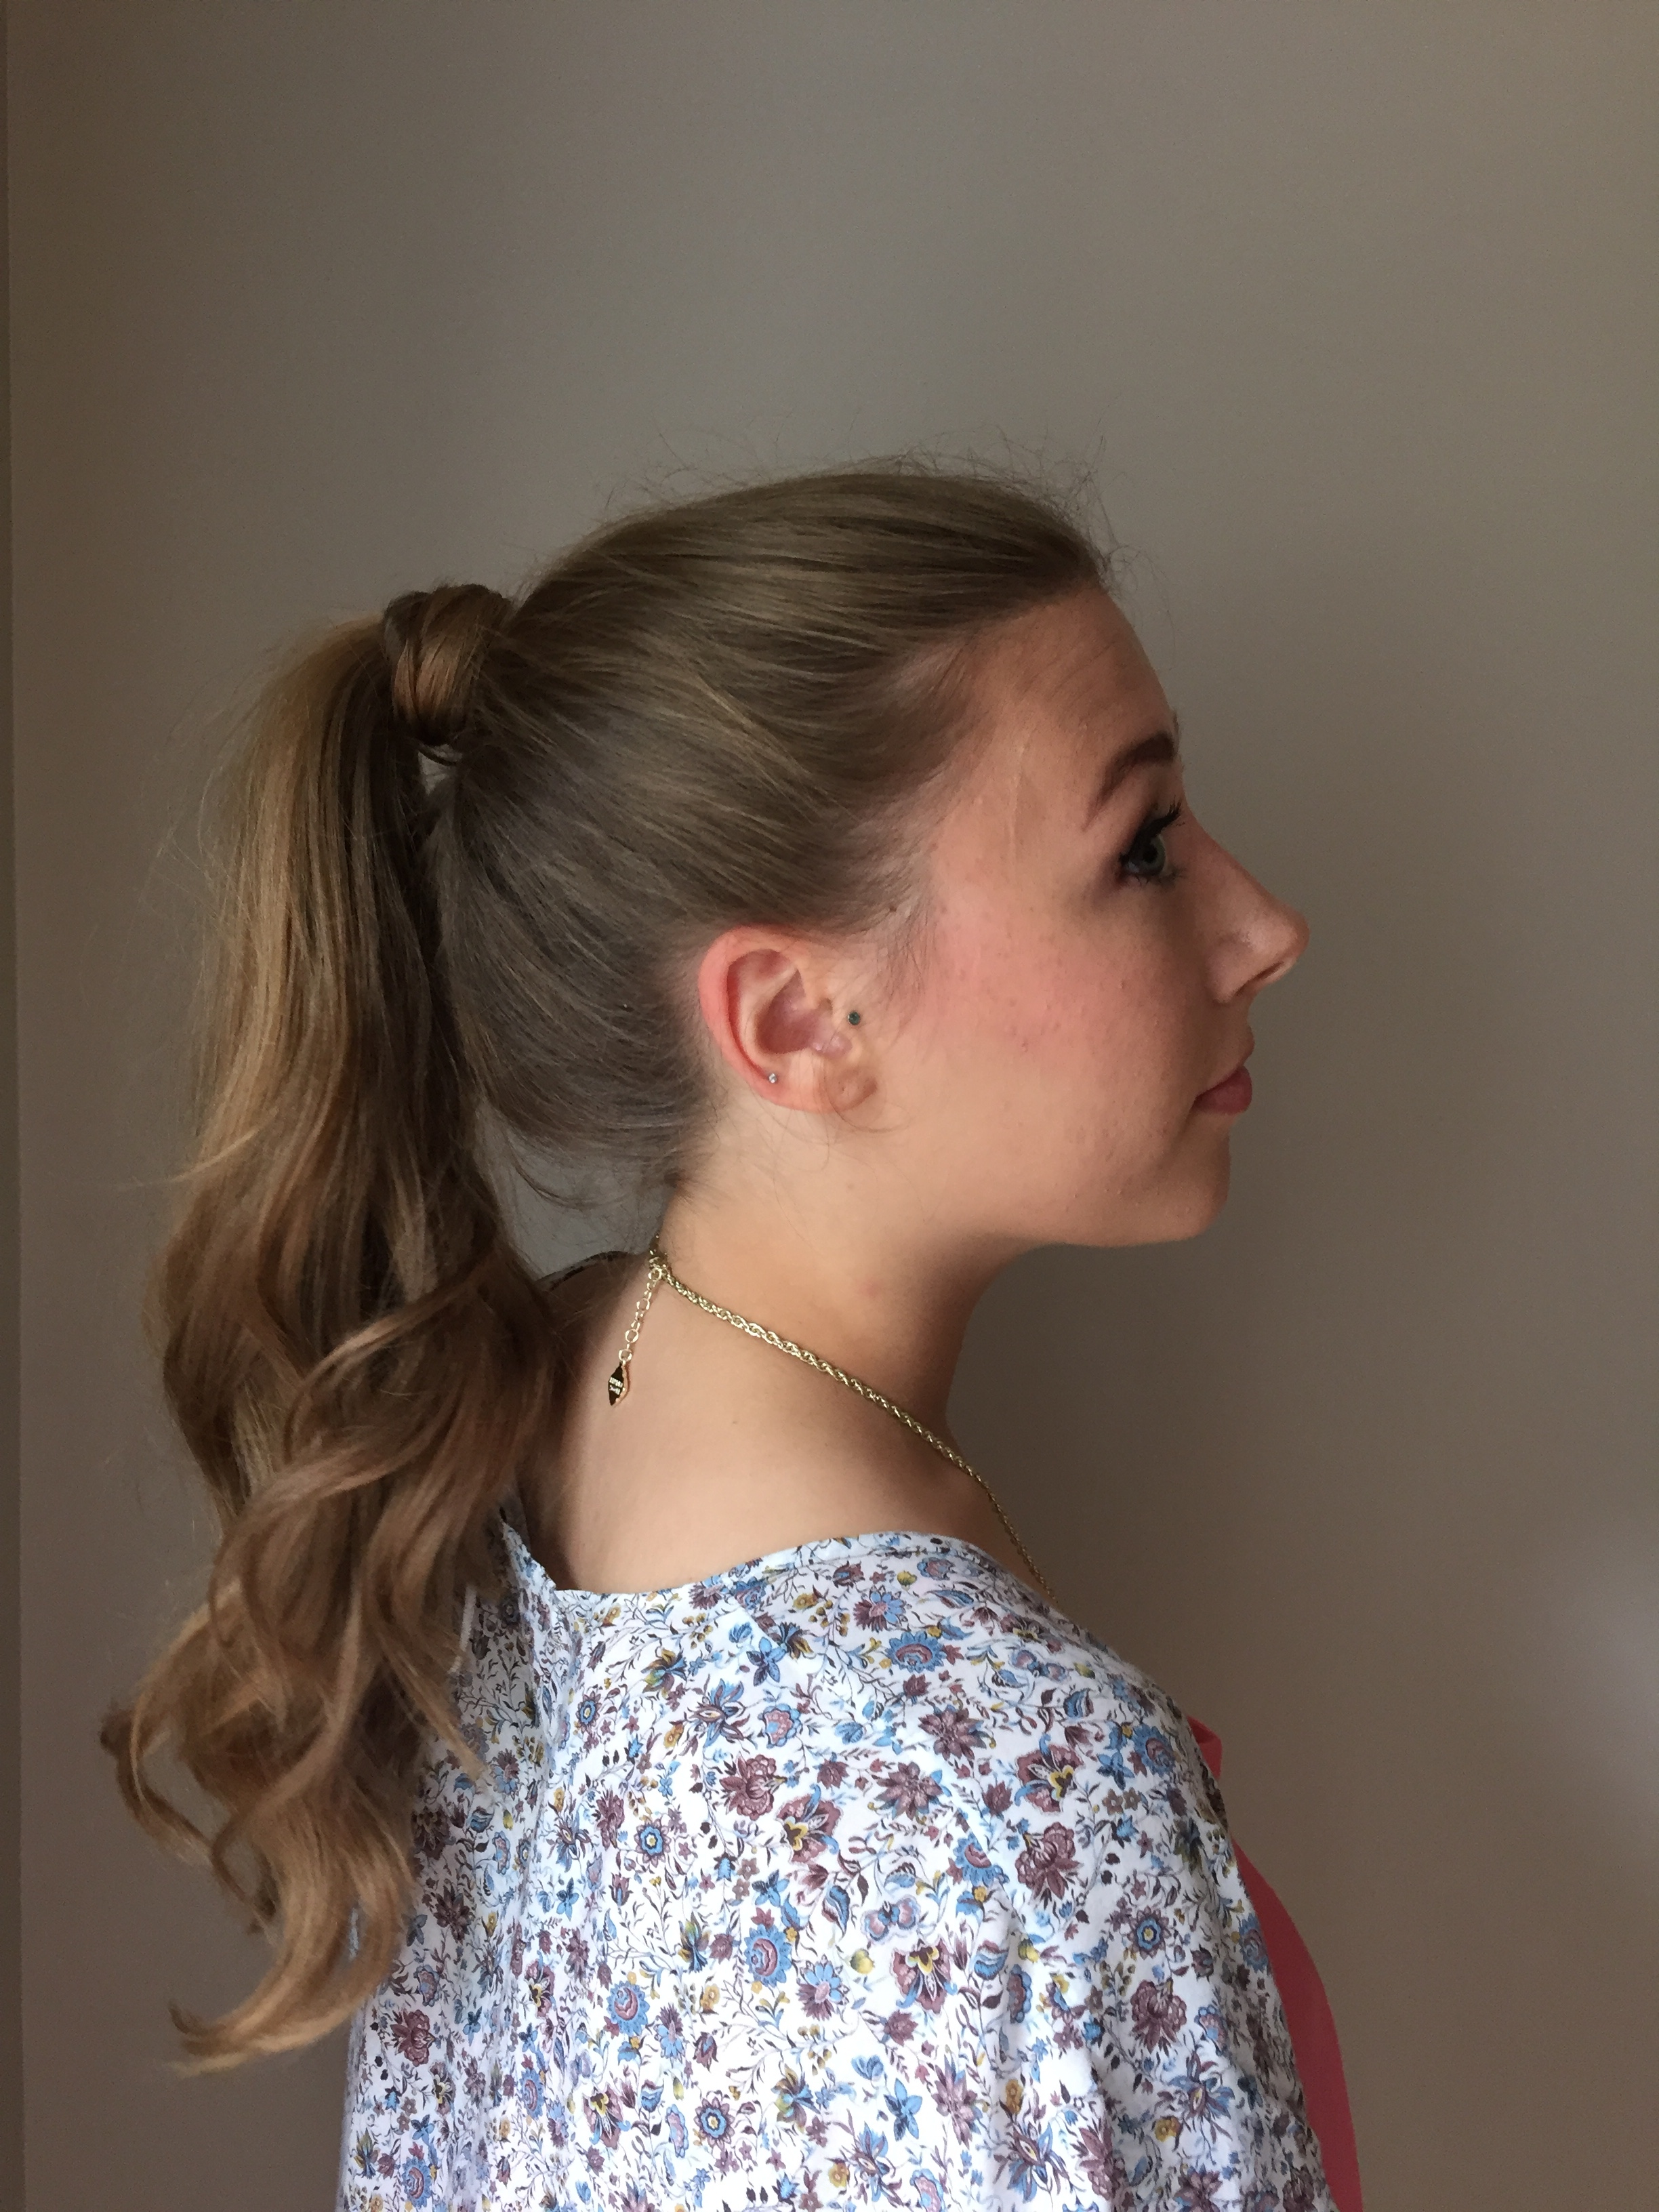
Okay, lets be real. I could wear this style any and every day, regardless of when the last time I showered was. However, if you were up late studying the night before and didn’t have time to wash your hair, DON’T PANIC! On mornings like these, I spritz a little dry shampoo into my hair before throwing it up into a high ponytail. If this is your second day of curls then a light touch up and a cute headband is all you need before you’re ready to walk out the door!

Even if you’re starting fresh, this style is super fast and easy. I don’t know why, but curling my hair when it’s in a ponytail is always quicker for me to do than otherwise!
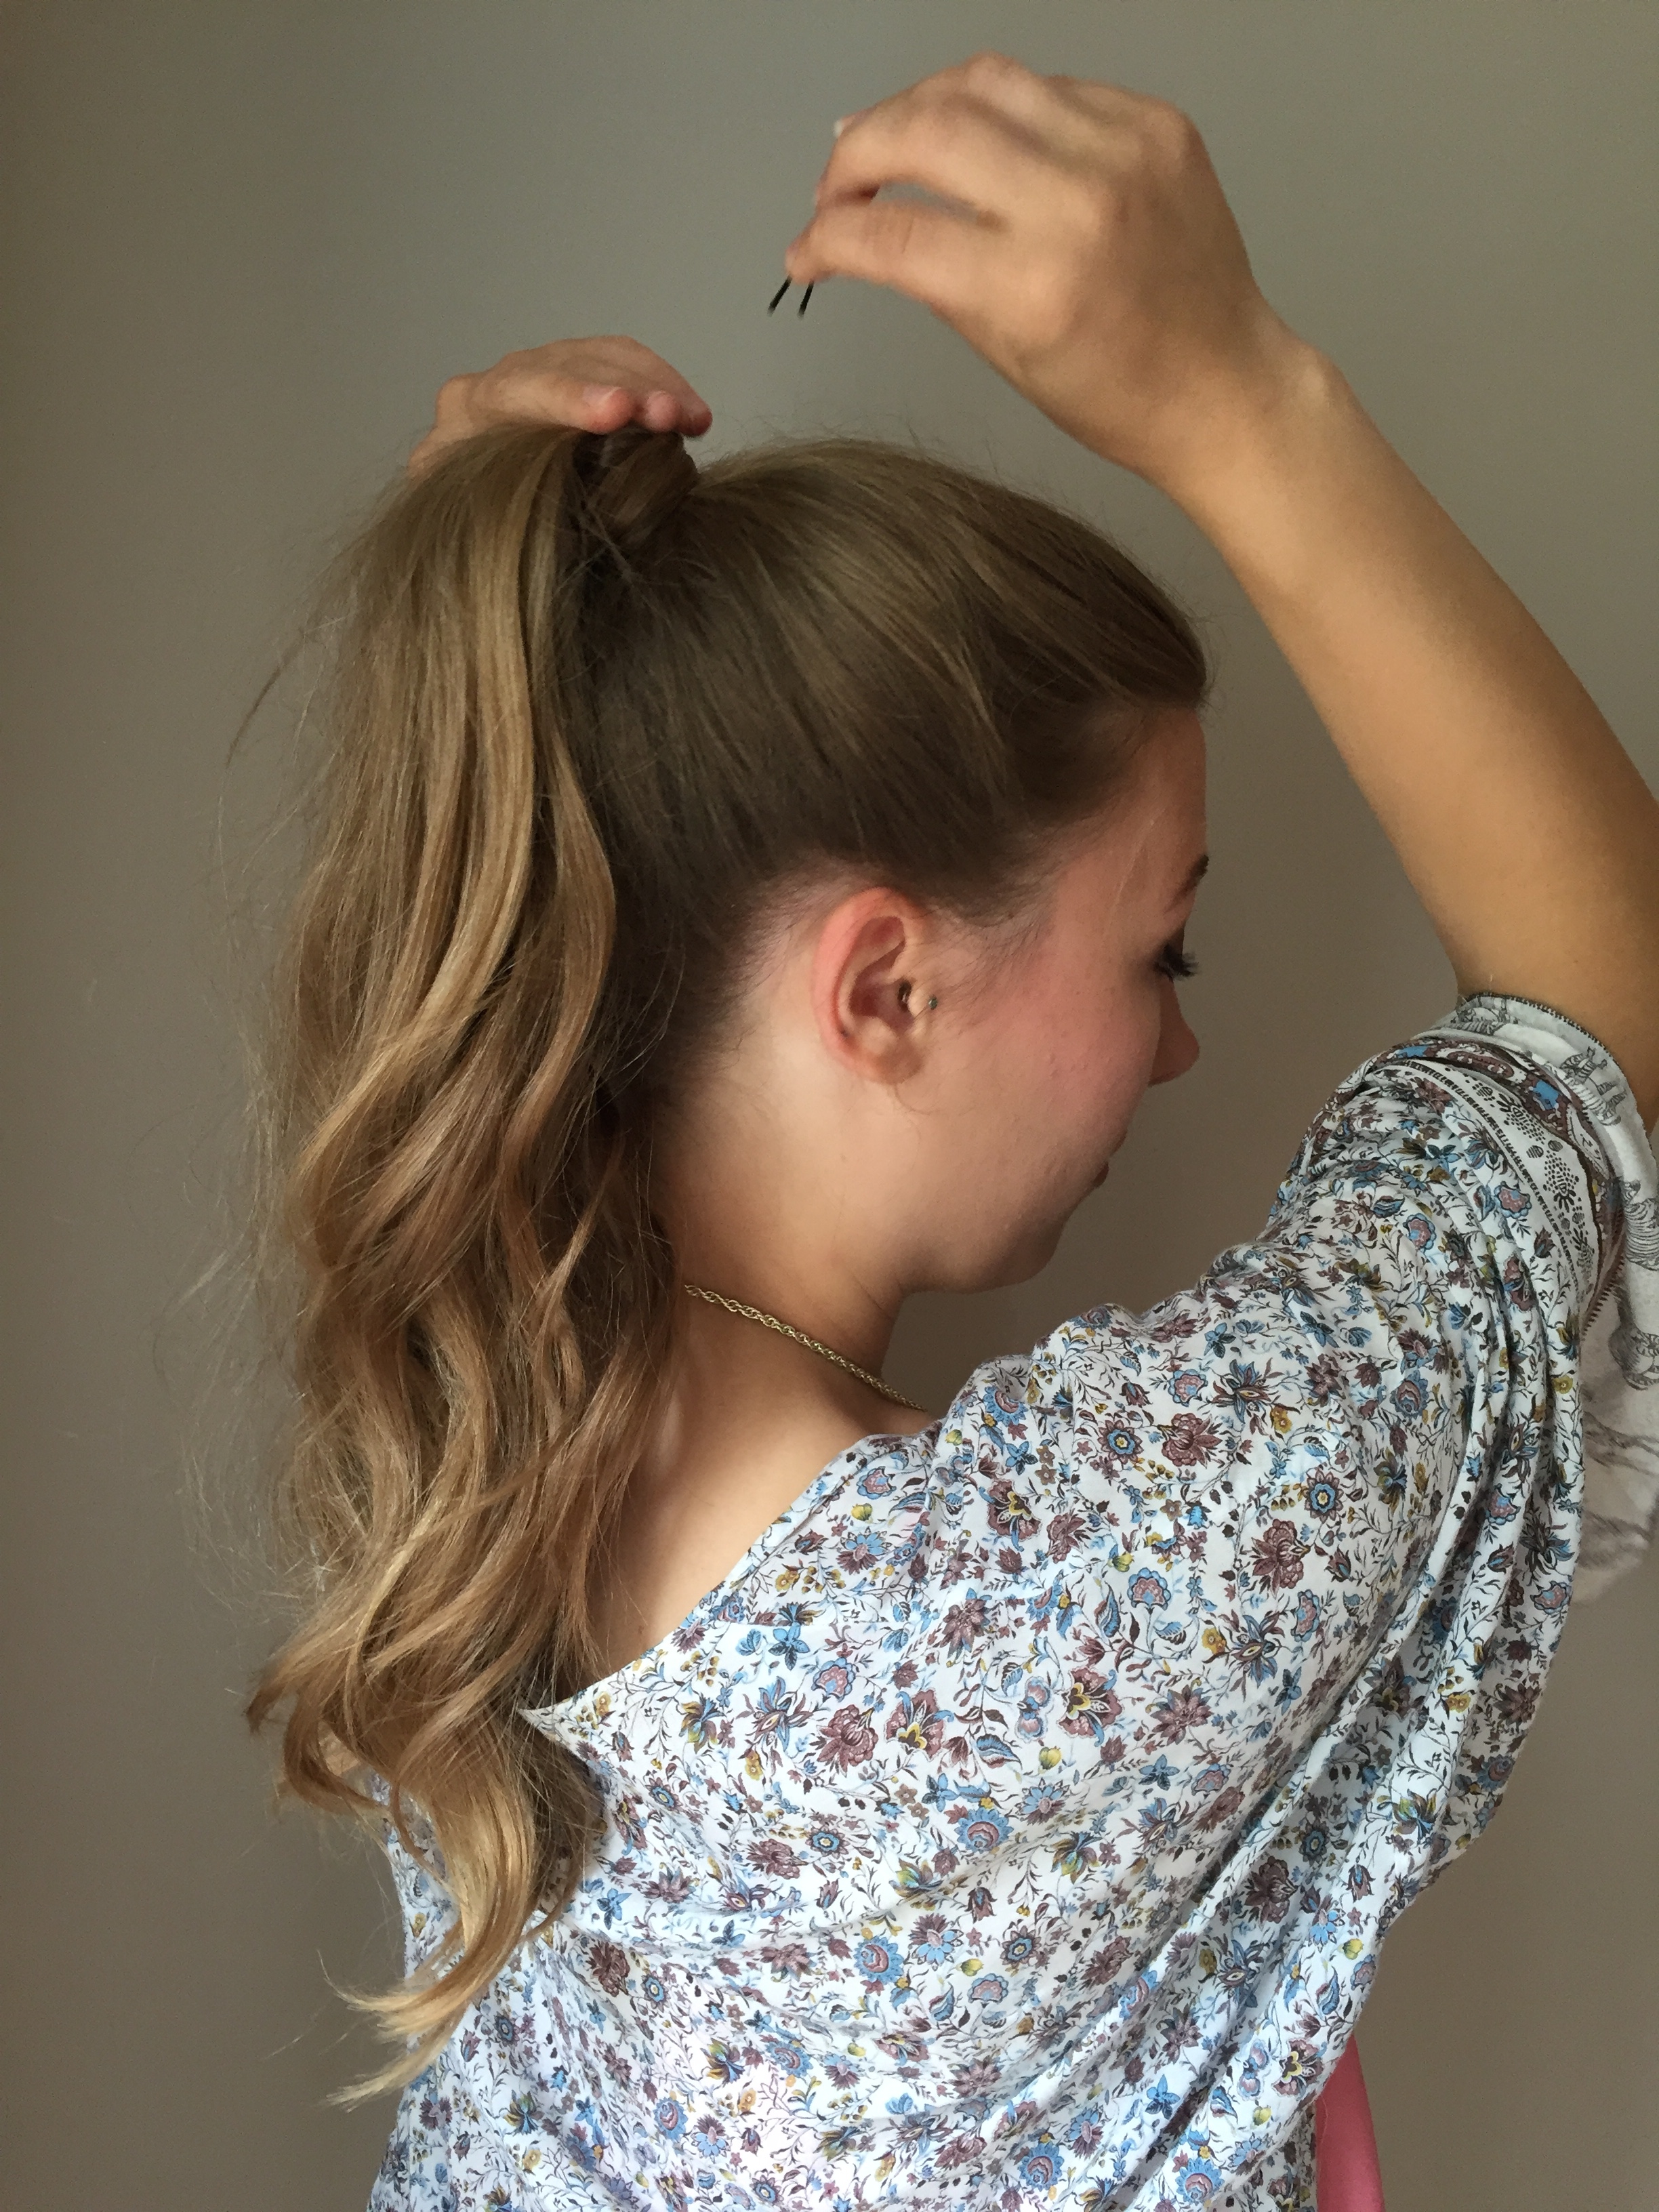


For a clean look, take a piece of the ponytail, wrap it around your hair tie, and secure firmly. Now you have a look that took less than 10 minutes, is chic, but also effortless. Sounds like a win-win to me!


xoxo,
Rachel Lynn


Braided Top Knot Tutorial

by Remington Ready May 27, 2016


Hi everyone! Diana from 204 Park here today and I’m really excited to be partnering with Remington to share with you my go-to hairstyle for those hot summer days. As soon as the temperature rises I immediately gravitate towards top knots to stay cool. Today I’m sharing a braided twist on the top knot that’s sweet, simple and seriously elevates your look. Here’s what you’ll need:


Remington Glitter Vent Brush, Remington Teasing Brush, Remington Bow Clip, Bobby Pins, 2-3 Elastics, Hairspray


This hairstyle is easiest on second or third day hair. To start, brush your hair with the glitter vent brush to make sure you’re starting with a smooth base. Then, using the end of the teasing brush, separate the bottom ⅓ of your hair straight across and secure the top portion of your hair with an elastic.


To get a bit of volume, use the teasing brush to add some texture to the bottom ⅓ of your hair. Then, separate the bottom section of hair and begin braiding. You might find it easier to flip your head upside down to do this. Once the braid is complete, secure with an elastic. For a fuller braided look, gently pull the braid with your fingers to make the braid a bit looser and wider.


Once your braid is complete, secure the top portion of your hair into a ponytail, tucking the braid into the elastic. You’ll then create a bun with your ponytail using an elastic or bobby pins or both. To keep any flyaways at bay use a spritz of hairspray.


Lastly, finish the look with a sweet bow clip and your braided top knot is complete! With a bit of practice this look is easy to master and is a major upgrade from your basic topknot. Now you’re ready to look cute and stay cool all summer long! Thanks for having me!


Xo, Diana - 204 Park


The Perfect Day-to-Night Bun

by Labelle Mel September 17, 2015


Hello everyone! My name is Melanie and I am a lifestyle blogger over at LaBelleMel. I’m back again as Remington’s guest blogger showcasing how I would use Remington's Perfect Bun tool to style my hair from a day to night bun look. Having medium-length hair doesn't give me much length yet to turn it into a nice sleek bun and that's where the perfect bun can come in handy.


I was given this hair tool a few weeks back and for roughly $5, it's an inexpensive tool to take with you changing your hairstyle from day to night so easily and effortlessly. For my day bun, I wanted a side fishtail braid to pull back into a low bun.


1. First, separate a side of your hair and clip away, then pull the rest of your hair into a low ponytail.


2. Pull your ponytail into the perfect bun tool, then pull your tail back with the tool and roll the tool forward towards the base of your ponytail.


3. Bend the tool around the base of your ponytail and spread out your hair around the tool to cover it. Pin any hair out of place down.


4. Next, French braid your hair into a fishtail braid or regular French braid will work too and fasten the end.


5. Flatten the braid by pulling carefully at the loops until you have a fuller braid look.


6. Pin the braid around the bun and any loose hair down. Voila, done!


Then for your night look, unravel the braid and pull all your hair into a high top bun. I love a good sleek high bun with simple accessories to create an elegant look for your fun night in the city. Just something about the whole top bun shouts glam to me.


1. Pull all your hair into a high bun.


2. Take the tool over your ponytail and flatten the tool straight.


3. Pull your hair straight up and tight to be sure all hair stays inside the tool loop.


4. Then, roll the tool forward towards the base of your ponytail.


5. Wrap the tool around the base and spread your hair evenly around the tool to cover it.


6. Finally, pin any loose hair strands down and done!


Messy Ballerina Bun

by Megan Joy May 14, 2015


Hi there! I'm Megan from meganjoy.ca and I am so excited to be a guest blogger. I wanted to show you this simple and quick way to style your hair. A ballerina bun is perfect for hot summer days because it keeps your hair off your neck and it's also great for those "second day" hair days when you just want your hair up and out of your face.

I used the Remington Perfect Bun in Blonde to create this look. I have fine and layered hair so it can be tricky getting all the stray pieces into a bun. I've learned that if it looks a little messy it's ok! It doesn't need to be perfect and it still looks pretty even if you have a few stray hairs.


• Step 1: Pull your hair into a ponytail. Use your hands (not a brush) to give it a more casual look.

• Step 2: Once your hair is in a ponytail slightly tease your hair to give it more volume

• Step 3: Push the ends of your hair through the opening of the Perfect Bun with about an inch of your hair sticking out

• Step 4: Roll the bun towards your head and twist the ends of the Perfect Bun around the hair elastic (there is wire inside so it holds it's shape when you wrap the ends of it around your ponytail)

• Step 5: Spread your hair out around the bun to hide the Perfect Bun and add bobby pins if needed

• Step 6: Use hair spray or styling product to smooth over the bun and tuck in any stray hairs. If there are a few pieces hanging out, don't sweat it. The messier the better!


That's it for this super easy hairstyle. I like the Remington Perfect Bun because you can adjust the size of it depending on how tightly you wrap the ends around your hair elastic. So if you have thin hair like me you don't have to worry about having enough hair to spread across a giant hair donut. And if you have thicker (or long) hair you can create a larger bun too!

I hope you enjoyed this tutorial!

Get this Iconic Look: Classic Low Bun

by Remington Ready December 10, 2014


Whether it’s a casual work day or a night out, this up-do is simply perfect. Get this classic style with the steps below!


Tools: TStudio Silk Oval Wand, TStudio Slim Straightener, Beaded Headwrap, and The Simple Twist 


    1.  Add mousse or hairspray to hair to add texture


    2.  Section hair and curl a 1-2” section of hair with Oval wand.


    3.  Continue curling the sections, alternating the direction of the curl each time.


    4.  Leaving bangs down, gather hair to back of head and twist into low bun 


    5.  Push Simple Twist pin up into bun, then flip pin and push back down towards                nape of neck. Pin should be close to scalp when pushed back down, to better              secure look.


    6.  Sweep bangs to the side and add a slight flip with a straightener.


    7.  End Look 1: Add a beaded headwrap across the forehead to dress it up.


    8.  End Look 2: Just put on your favorite pair of earrings for a more classic look. 


Richard Marin Question of the Week: Summer Hair Accessories

by Remington Ready April 27, 2012

If you were stranded on an desert island, what hair accessory could you NOT live without?  Your answer probably the same as Richard's favorite summer hair accessory...well, at least mine is! Find out what which accessory will give you all the hottest styles this year: 


Ask Richard a Question:


Richard Marin is one of the top hair stylists in the hip, competitive world of hair styling. His remarkable work has graced the pages of some of the most elite fashion magazines, including Vogue, Allure and Vanity Fair.


The Easter Bun

by Remington Ready April 2, 2012

On a holiday where there are eggs to find and chocolate bunnies to eat, you most likely want to quick and easy hair style while still looking festive. The Easter bun, also known as the braided bun, has been seen on countless celebrities like Heidi Klum, Lauren Conrad, Sarah Jessica Parker and Kristen Bell. Luckily for those of us who don’t have a team of hair stylists, this high fashion look only takes minutes to create. 


Step 1: Comb out your hair using a flat brush to remove any tangles.


Step 2: Use an elastic hair tie to pull your hair into a low pony tail. Separate the pony tail into three pieces and braid it until you’ve reached the end of your hair. Secure the end with your second elastic hair tie.

 *Tip: A good way to measure where your bun should be located is by line up your pony tail with the top of your ears.


Step 3: Wrap your braided hair around the base of your pony tail to create the bun and make sure the end of your braid is tucked under the bun. Bobby pin the outside of your bun to your head.  


Step 4: Spray with hairspray to secure your bun.


Step 5: Easter is colorful holiday, so don’t be afraid to add an accessory to brighten up your bun like this Turquoise flower clip.


Voilà, you have a beautiful Easter bun in minutes!


Share your braided bun picture by posting it to Facebook.com/RemingtonReady or tweet at us @RemingtonReady.