Listen up lovely ladies (and gents)! When you stop and think of how funky and gross some of your styling tools can get and all of the dust, oils, and germs that accumulates, you’ll start looking at those hairballs differently. No worries – we’re here to help! Cleaning your styling tools will not only give you more control while styling, but also smoother, shiner hair. No germs and shiny hair? WIN!
NOTE: Make sure your styling tools are unplugged and cooled before cleaning!!!
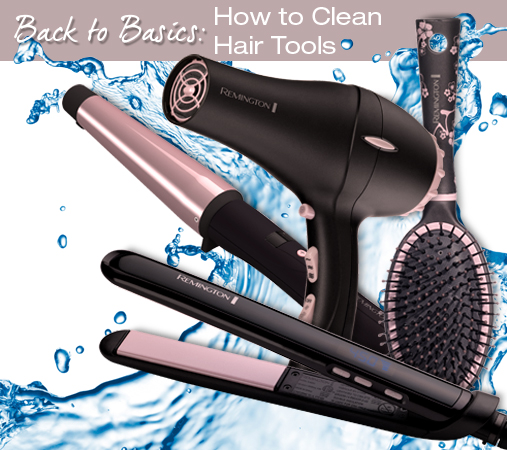
Hair Dryer – Simply remove the air vent (circular area located in back) and clean lint off the filter with an old toothbrush. Replace the filter and put the air vent back on! Lastly, wipe down the exterior of your dryer with an anti-bacterial wipe. Voila! Remember to clean the vent area about once a month to help with air circulation through your blow dryer. It also extends the life of your blow dryer by preventing it from overheating!
Straightener – Take a damp washcloth and gently wash off the plates from any build-up. If the straightener has floating plates, take a small pin and gently run it under the plates to remove any build-up. If you still have stubborn, try using rubbing alcohol on a soft rag. Make sure that you squeeze out the excess alcohol from your rag before cleaning your flat iron to prevent alcohol from getting inside.
Brush – Grab a pen or pencil and slide the pointed end under the hair build-up from the bottom of the brush to the top. Pull up until the hair starts to loosen. Then take a scissors and carefully cut straight down the middle. Pull the clumps apart and discard any hairballs. To clean the rest of the brush, use shampoo on a toothbrush with warm water to scrub the base of the brush between the bristles. Rinse the brush, and then lay it face down to dry.
Curling Iron/Wand – Wipe the barrel and handle with a damp cloth. To remove heavy build-up, use rubbing alcohol instead of water. Another secret tip is to mix 1 part warm water with 1 part liquid fabric softener and put mixture on a cloth or q-tip. Wipe down your curling iron with the cloth or use a q-tip to get those small, hard to reach areas.