Hi there! I'm Danielle from For the Love of Leopard, a personal style blog. I'm honored to be guest blogging on Remington Ready today, and to bring you some of my favorite tips for keeping your closet organized, functional, and looking beautiful.
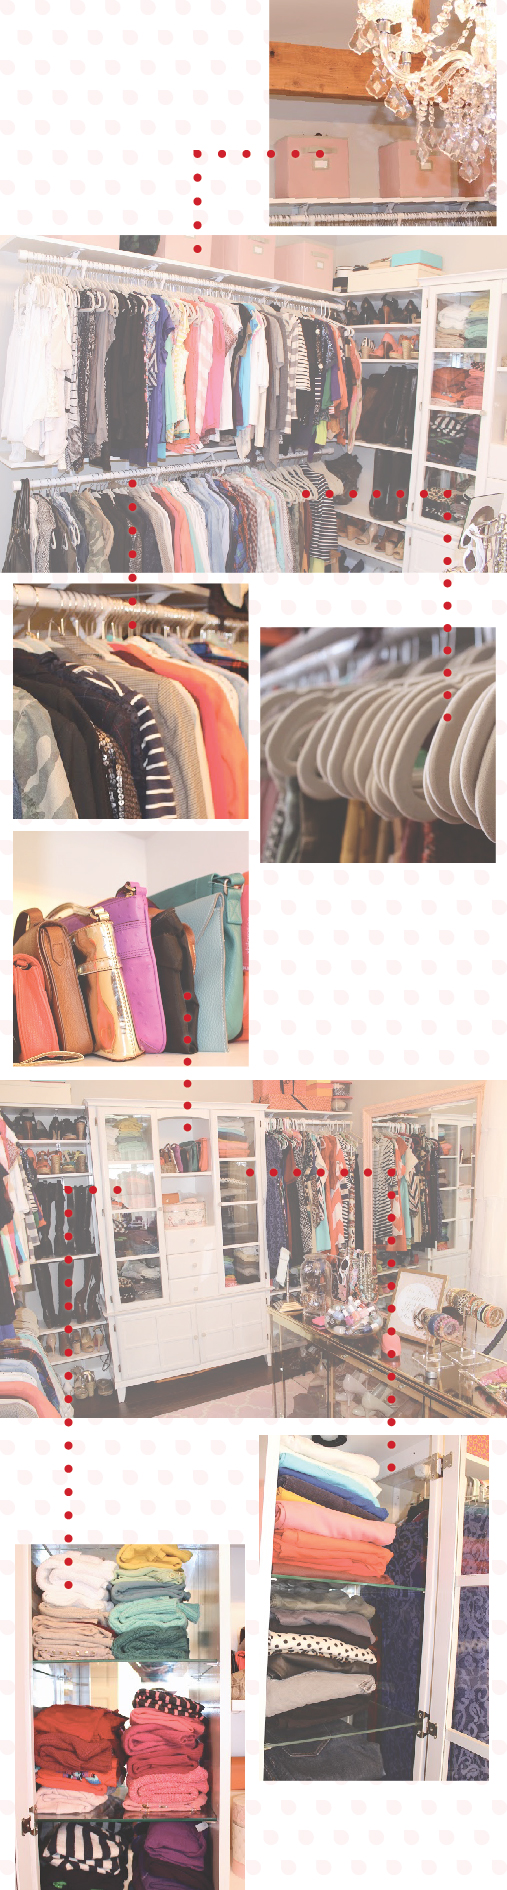
• Keep it organized. No matter how big or small your closet is, it is important that every item has a home. You will be more likely to put things away if you know where each item is supposed to live. It takes some time upfront but makes life so much easier when you are looking for something specific. I have separated my hanging clothes in the following sections, and then organize them by color:
◦ Tank tops
◦ Tee Shirts
◦ Long Sleeve Shirts
◦ Blazers
◦ Button Downs
◦ Skirts
• Everything should be visible! If you are unable to see something, you most likely are going to forget about it and not wear it. Items that are in sight are more likely to be worn.
◦ Roll tank tops so you can easily see and grab what you need
◦ Hang tights and nylons on a hanger for easy access
◦ Stack sweaters and pants vertically on shelves
• Fold your sweaters! I cannot stress this one enough. We've all experienced the dreaded shoulder nipples you get from hanging your sweaters, and once those babies are there, they are nearly impossible to remove. Fold your sweaters, people.
• No orphan hangers. Set up an area for empty hangers. When you take an item of clothing off it's hanger, move the hanger to the designated space. If you leave bare hangers amongst all of your clothes, not only does it look sloppy but it also makes it that much harder to find a hanger when you need one.
• Invest in matching hangers. Much like orphan hangers, mismatched hangers can look sloppy and take away from the real focus - the clothes. Figure out how many hangers you need, and then order a matching set in bulk. These hangers are my absolute favorite for several reasons. #1, they are non-slip, so your clothes stay in place. #2 they are super slim, so you can fit more clothes on each rod.
• Use vertical space In my opinion, closets are never big enough - but a lot of times the space above the clothing rods goes unused. This is a great space to store items that aren't in season. Or use cute baskets, like these Martha Stewart ones, to corral smaller items like scarves or belts.
To see more of Danielle's fabulous work, head over to her blog For The Love of Leopard!