Hey everyone! My name is Diana and I'm a Canadian blogger over at 204 Park from Edmonton, Alberta. I'm SO excited to be guest blogging for Remington because today, I'll be sharing a fun braided look with one of my favorite hair tools!
Summer may long be over but that doesn't mean you need to give up your beach-y waves. Today I've got a simple braided hairstyle that's perfect for fall! All you need is your Remington 2 in 1 curling iron a few bobby pins, a hair clip, elastics and some hairspray.
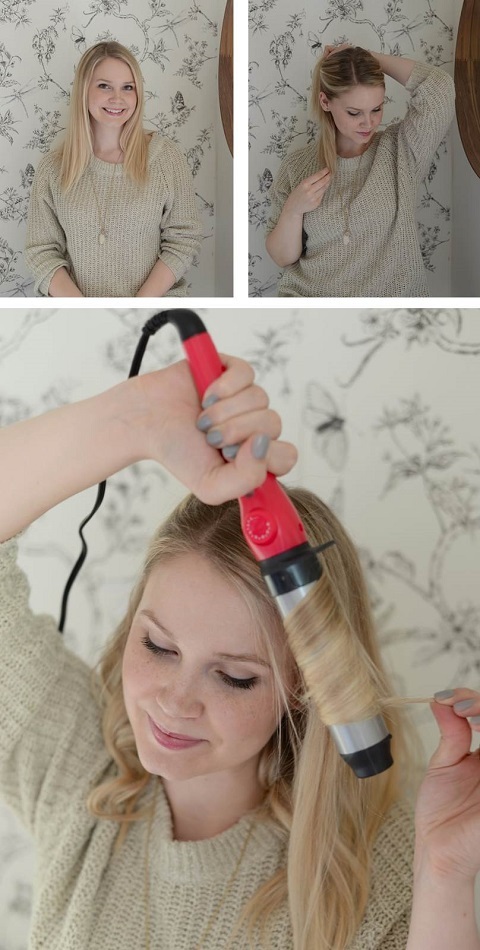
Step 1: Start with your straight or natural hair and section away to begin curling. I like to clip the top half of my hair up to start at the bottom and work my way up in sections.
Step 2: Curl your hair into loose waves. For a more natural wave, swap the direction of your curl as you move along to each section. For example, if you start your first curl with an "over curl" (wrapping your hair over the curling iron), curl your next piece with an "under curl" by starting to wrap your hair under the curling iron.
Step 3: Once your hair is nicely curled use a quick shot of hairspray and run your fingers lightly through the curls so they look loose and natural. Then section the top 1/3 of your hair into two smaller sections along your part and start a simple braid in each section. Secure with an elastic.
Step 4: Pull the two braids towards one another and then, loosening a section in one of the braids, pull the other braid through so the two intertwine.
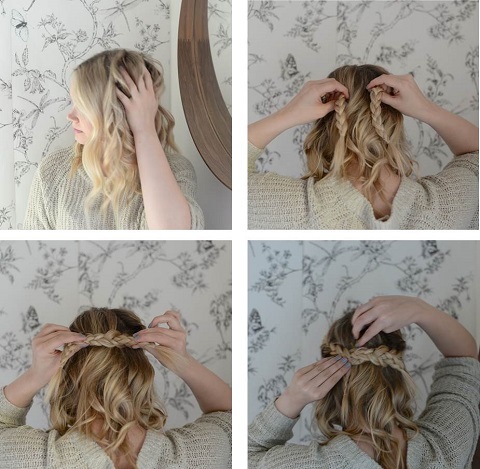
Step 5: Secure with bobby pins and hairspray then remove the elastics at the end of the braids for a natural look
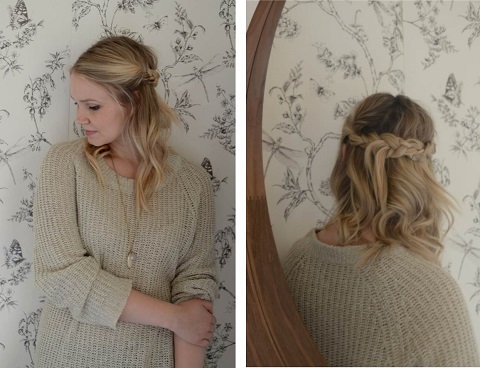
With that you've created a simple fall braid that is perfect for fall.
Happy hairstyling babes!