Happy New Year everyone! My name is Busola Coutts and i am a guest blogger today on Remington. It is a new year and that always marks a time for new beginnings, new changes or just an excuse to have something new.
Hair is always one of those things i consider when i want a significant change, especially with my look. So today, i will be sharing a few quick and easy steps of how i went from straight hair to medium shag curls with a bohemian touch to it.
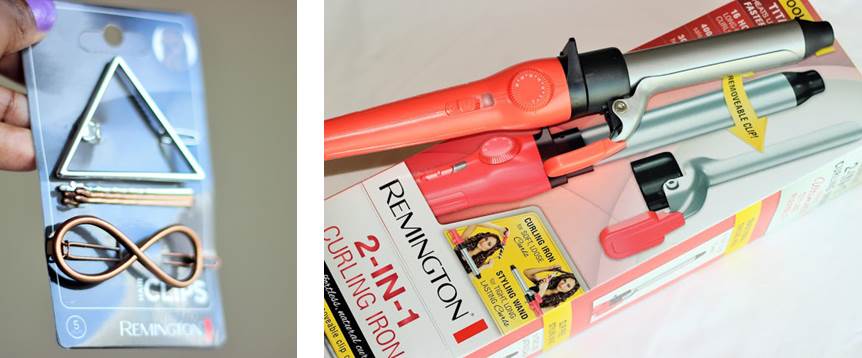
What you need:
1. Remington 2-in-1 Curling Iron
2. Remington Hair Clips. This is a complete set with two different hair clips and bobby pins in gold and silver.
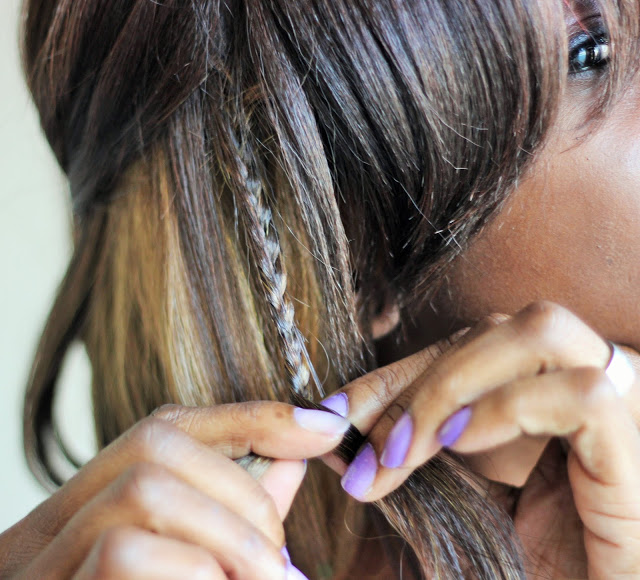
Step 1: First, turn on the curling iron to start getting hot while you work on your hair. Pull out a few strands of hair on both sides and braid. Hold up hair that may be in the way while you braid by using the Remington bobby pins in the hair clip pack.
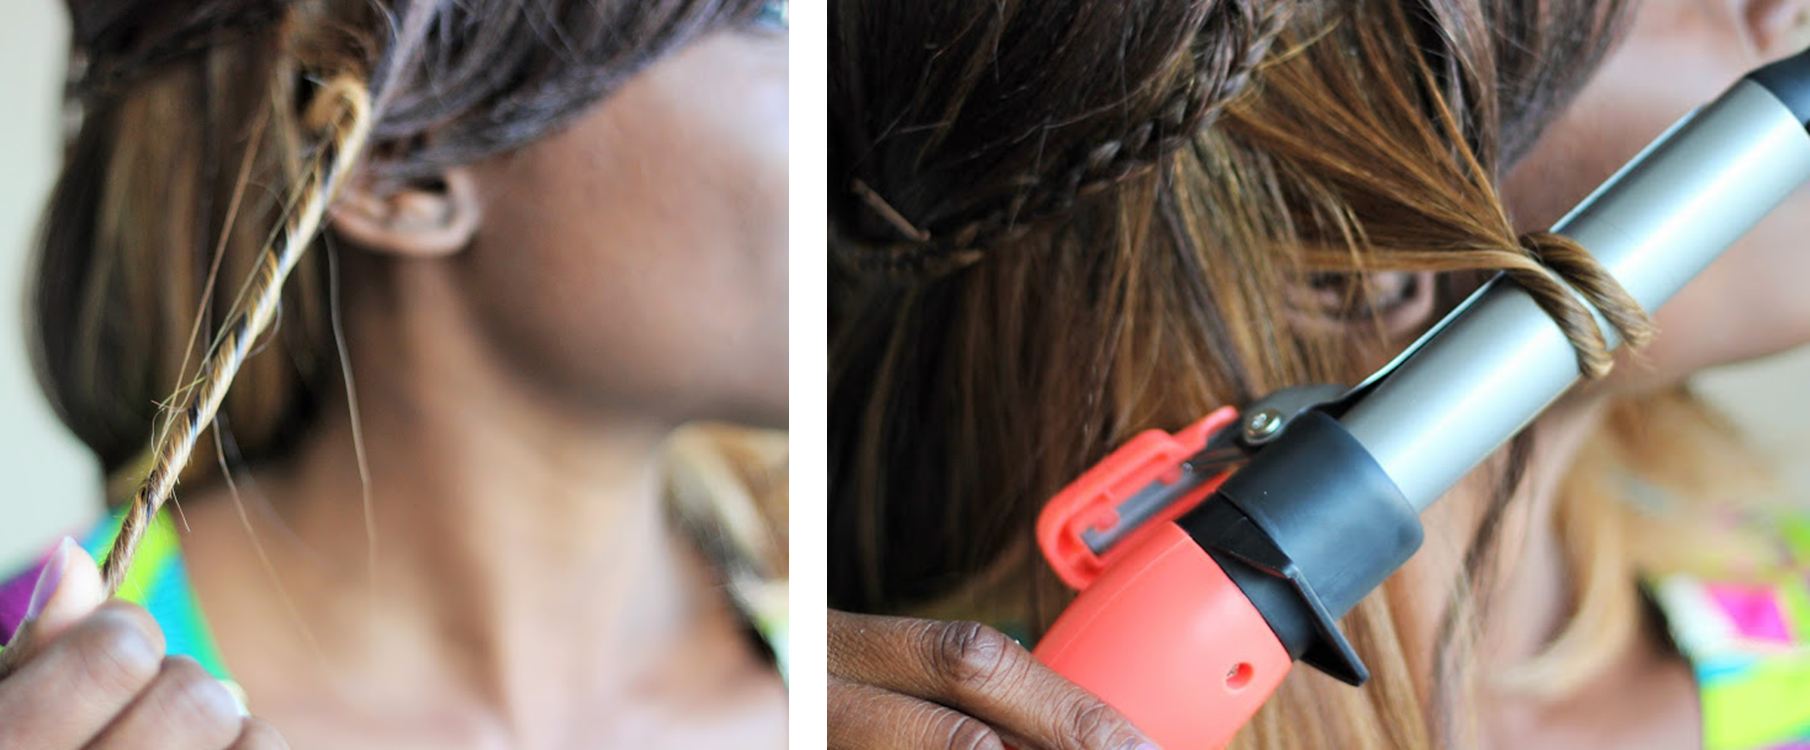
Step 2: You can either start from the sides or the back twisting a few strands of hair together. Then curl the twist with Remington curling iron set on 30 degrees.
Continue with this step by working your way to the top. Remember to leave out the fringe if you have one and if you don't you can easily get one by trimming your hair in front (only if you are comfortable with that) or you may just leave it as is.
Step 3: Once you have curled the entire hair except for the fringe start taking the curled up twists apart with your fingers. If you don't have a fringe you can always curl your entire the same way.
Then simply run your fingers downwards through your hair to loosen the curls to achieve that shag do. For more loose curls, gently brush it out with a wide comb hair brush.
Step 4: Time to pin down the individual braids on both sides to the back of the hair. You can have the braids slightly below the center of the back of your head which I prefer...
Or you can pull it even further down low. It depends on how long and how far your braids can go to meet in the middle.
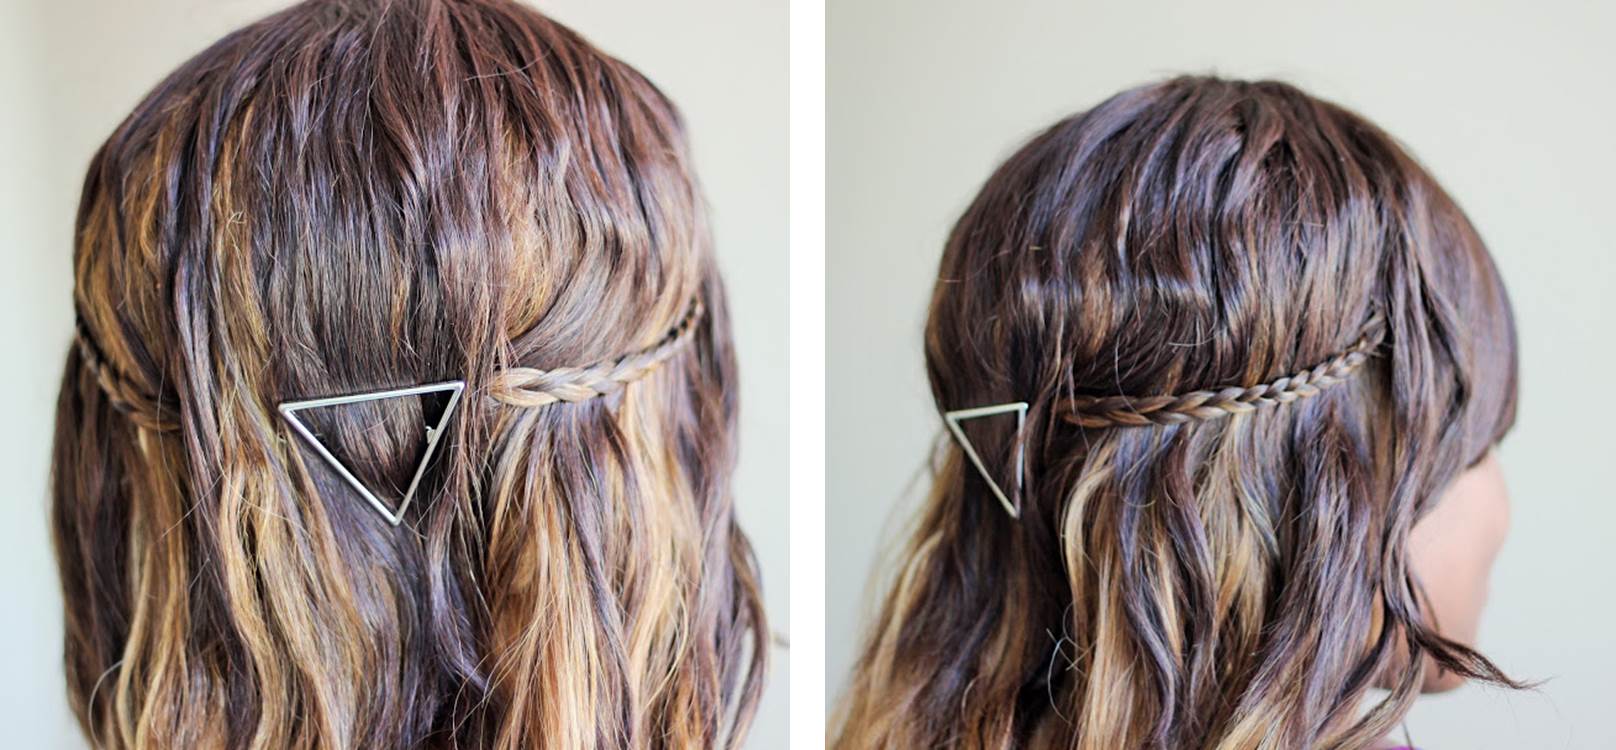
After securing the braids in place, I pulled out a little bit of hair over the point where the braids meet and I locked them down with the Remington triangle hair clip for a trendy and stylish look.
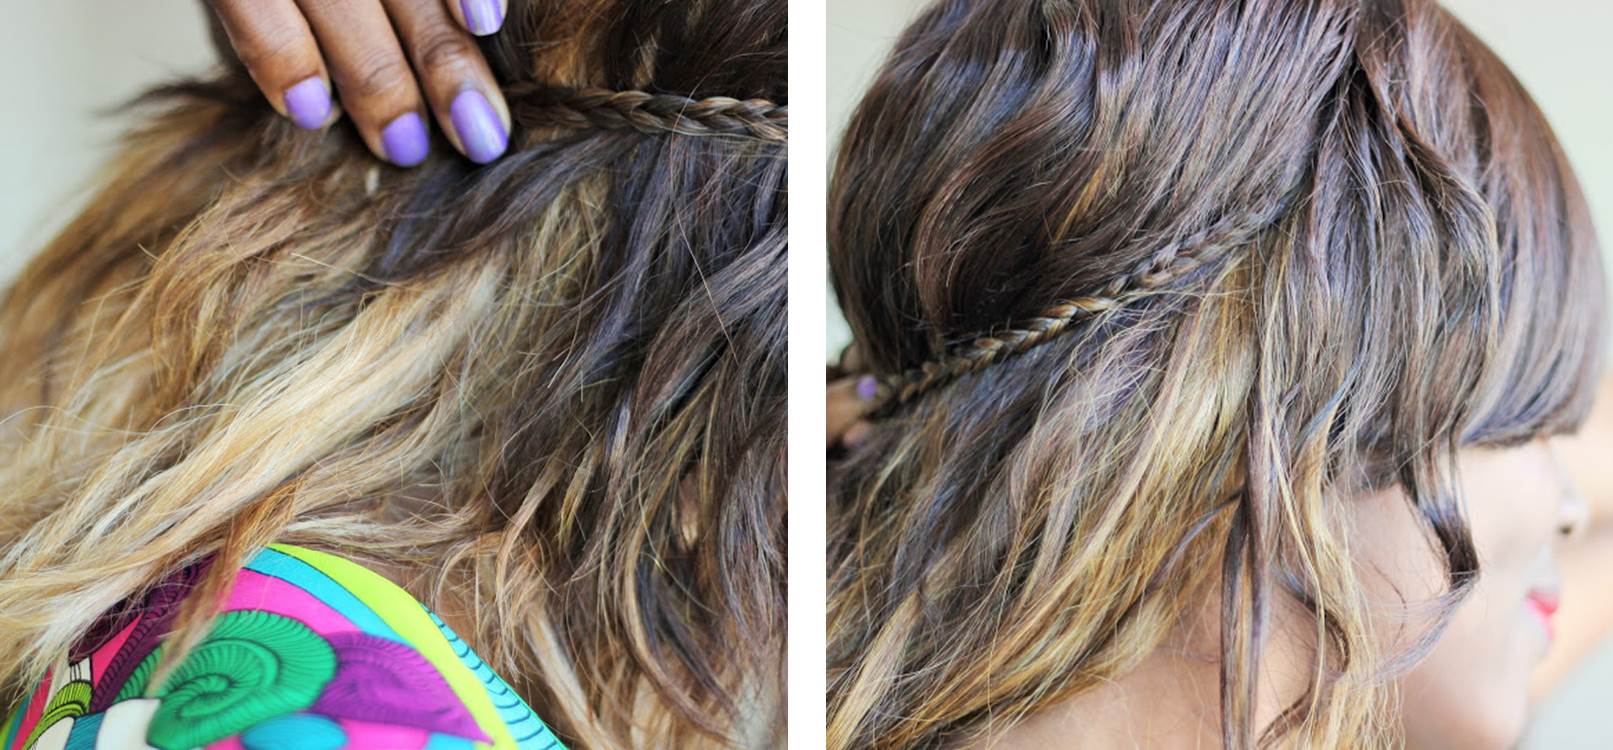
The Final Result
The shag hairstyle has been and will always be a hot and trendy hair-do especially now. It is easy to maintain, very daring and great for a night out with friends or for that every day chic look. For more helpful hair tips, check out my blog in www.thefashionstirfry.com
Learn more about the 2-in-1 Curling Iron
The hair clips are available at Target